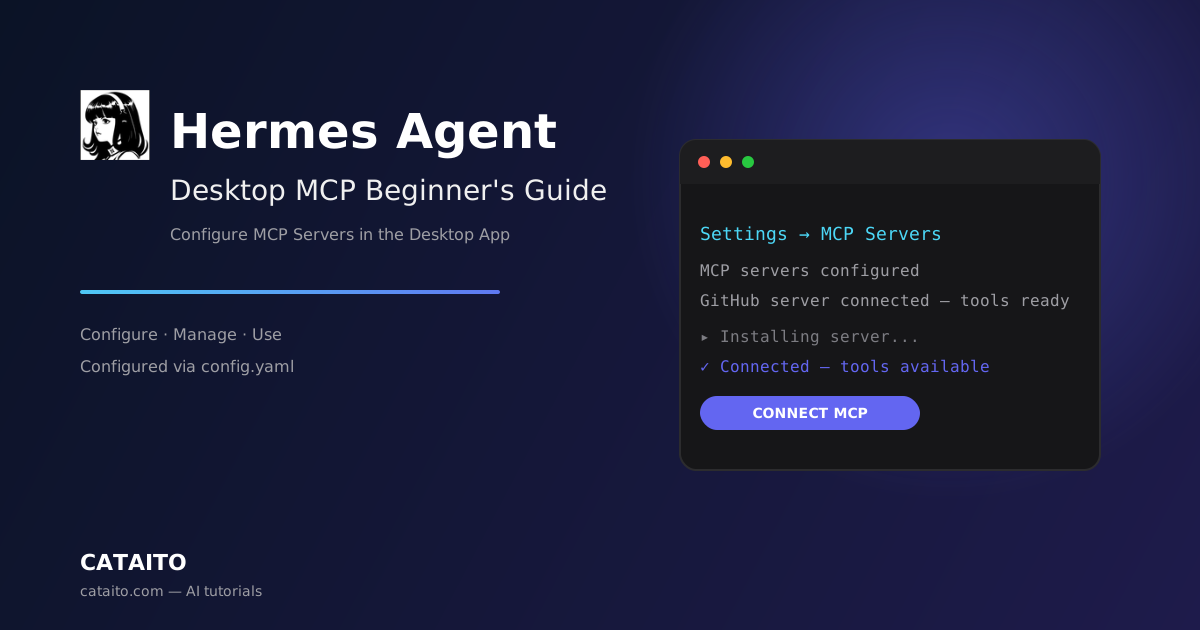

Hermes Agent Desktop MCP Beginner's Guide: Configure MCP Servers in the Desktop App
Learning Objectives
By the end of this tutorial, you will be able to:
- Understand how MCP works in the Hermes Agent desktop app
- Find that the desktop app and the CLI share the same MCP configuration
- Configure an MCP server graphically through the desktop Settings
- Reload and use MCP tools inside a desktop chat session
Time needed: 15 minutes
Difficulty: Beginner
Which version is covered? This tutorial covers Hermes Agent Desktop — the graphical desktop app. It configures MCP the same way the CLI does, because both use the identical ~/.hermes/config.yaml file. Anything you set up in the desktop app is available to the CLI, and vice versa. If you prefer the command line, see the Hermes Agent CLI MCP Guide.
Prerequisites
Before you begin, make sure you have:
| Requirement | Details |
|---|---|
| Hermes Agent Desktop installed | Not installed? Follow the Hermes Agent Desktop Beginner's Guide first. |
| MCP support | MCP ships with the standard Hermes Agent install — no extra step needed. |
| An MCP server to connect | The Hermes Agent catalog ships with a curated set; in this tutorial we connect the **GitHub MCP server**. |
How MCP Works in the Desktop App
A key point about the Hermes Agent desktop app: it is not a separate product with its own settings. According to the official Hermes Agent documentation, the desktop app runs on the same agent as the CLI and the gateway — same config, same API keys, same sessions, same skills, same memory. It uses the same Hermes Agent core and settings, driven through a designed UI.
That means:
- MCP configuration lives in the same
~/.hermes/config.yaml, undermcp_servers, exactly as in the CLI - Configuring an MCP server in the desktop Settings → MCP Servers pane edits that same file, so the CLI sees it too
- You can mix and match: add a server from the command line with
hermes mcp install github, then manage it in the desktop app, or the other way around
Step 1: Open the MCP Settings
Launch Hermes Agent Desktop. In the app, open the settings panel (the gear icon, or the settings menu). The settings panes cover providers, model selection, the gateway, sessions, and MCP servers.
Navigate to the MCP Servers settings pane.
What you should see: A list of your configured MCP servers. If you have not set one up yet, the list will be empty.
Step 2: Add an MCP Server
In the MCP Servers pane, add a new server. You can pick a server from the curated Hermes Agent catalog (the same catalog the CLI lists with hermes mcp catalog) or add a custom one.
Option A — Choose a catalog server. Select the server you want (for example GitHub). Hermes Agent walks you through any required credentials (such as an API key or OAuth login) and adds the server.
Option B — Add a custom server. Provide the details of the server, such as its command and args for a local stdio server, or its url and auth for a remote HTTP / OAuth server.
Hermes Agent writes the server into ~/.hermes/config.yaml under mcp_servers.
What you should see: The server appears in the MCP Servers pane with its status, for example enabled or installed (disabled).
Step 3: Choose Which Tools to Enable
When Hermes Agent adds a catalog server, it probes the MCP server to list every tool it exposes and lets you choose which to enable.
The pre-selected tools follow the same rules as the CLI:
- 1Your prior selection, if you installed this server before
- 2The manifest's
tools.default_enabled, if the entry declares one - 3Everything, if neither applies
Only the enabled tools end up in mcp_servers.<name>.tools.include.
If you want to refine the selection later, you can re-open the tool selection from the settings, or use the CLI:
hermes mcp configure <name>Step 4: Reload and Use MCP Tools
After you add or change a server, reload MCP so Hermes Agent picks up the changes. In a desktop chat session, run the command:
/reload-mcpWhat you should see: Hermes Agent confirms the MCP configuration has been reloaded.
Now start a chat in the desktop app and ask Hermes Agent to use the connected service, for example:
List the open issues in the facebook/react repositoryWhat you should see: Hermes Agent calls the MCP server's tools automatically, fetches the data, and summarizes it for you.
Every MCP tool is registered under the name mcp_<server>_<tool>, for example mcp_github_list_issues.
Step 5: Disable or Remove a Server
To disable or uninstall a server in the desktop app, open the MCP Servers settings pane and change the server's status, or remove it entirely. Because the desktop and the CLI share the same configuration file, a server you disable here is also disabled for the CLI.
You can also edit ~/.hermes/config.yaml directly and comment the server block out with #, then reload with /reload-mcp in any Hermes Agent session.
FAQ
Does the desktop app have its own separate MCP settings? No. The desktop app and the CLI share the same ~/.hermes/config.yaml. Configuring MCP in one place applies to the other.
Where is the MCP configuration stored? In ~/.hermes/config.yaml, under mcp_servers. Credentials go in ~/.hermes/.env.
Can I add a server from the command line and manage it in the desktop app? Yes — they share the same configuration, so you can freely switch between the CLI and the desktop app.
Do catalog servers work automatically? No. Catalog entries are reviewed, merged into optional-mcps/, and are disabled by default; you must install them.
How do I reload MCP after editing config? Run the /reload-mcp command in any Hermes Agent session, including the desktop chat.
How are MCP tools named? Each tool is registered as mcp_<server>_<tool>.
Next Steps
- Try a custom stdio server by pointing it at a local tool
- Explore the Hermes Agent official documentation for advanced MCP configuration
- Learn the command-line flow in the Hermes Agent CLI MCP Guide
- Learn more about the desktop app in the Hermes Agent Desktop Beginner's Guide